Have you checked out the new rugs in our shop? Here is a handy guide of some the most frequently asked questions that I have gotten over the years when it comes to choosing the perfect rug for your space.
What size do I need?
This is the MOST asked question. The general answer is the bigger the better. If you go with a rug that is too small for the space, it makes the entire room feel smaller. Scale is the number one key in most design decisions! Here are a few rules of thumb for the proper size rug:
Don’t completely cover the floor, but leave 12-18” of the floor exposed between the rug and the wall
In a dining room, there should be at least 2 feet of rug extending out beyond each side of the table. This ensures that when you pull the chairs out, all of the chair legs are still on the rug
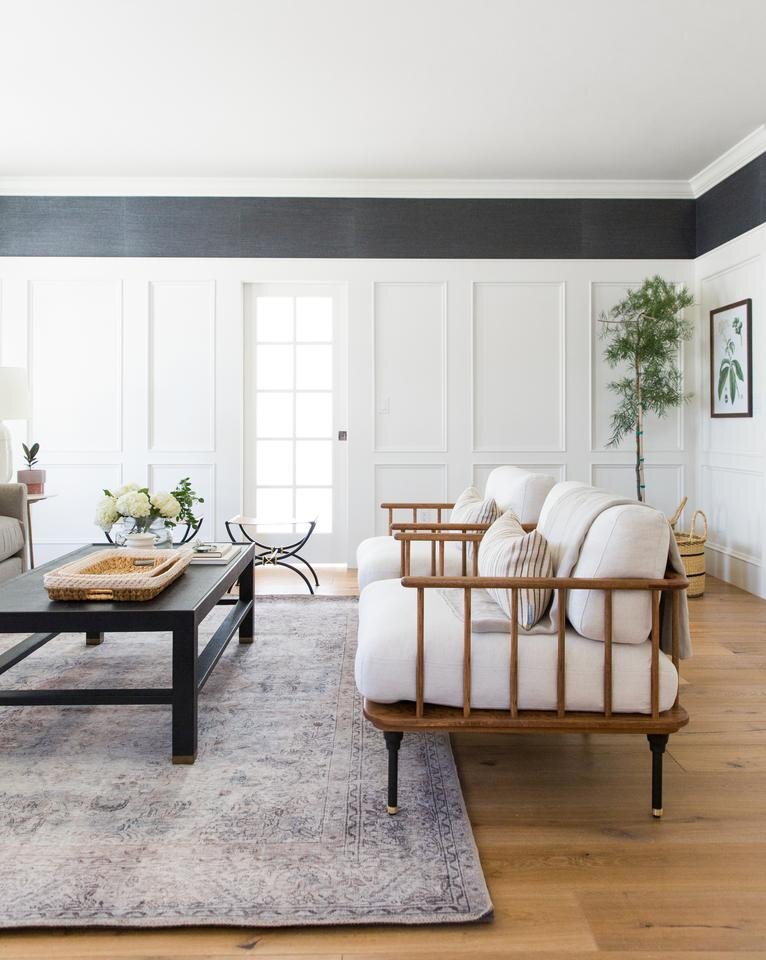
In a living room, make sure at least the front legs of the furniture are on the rug. The rug should not be floating the the middle of the furniture.
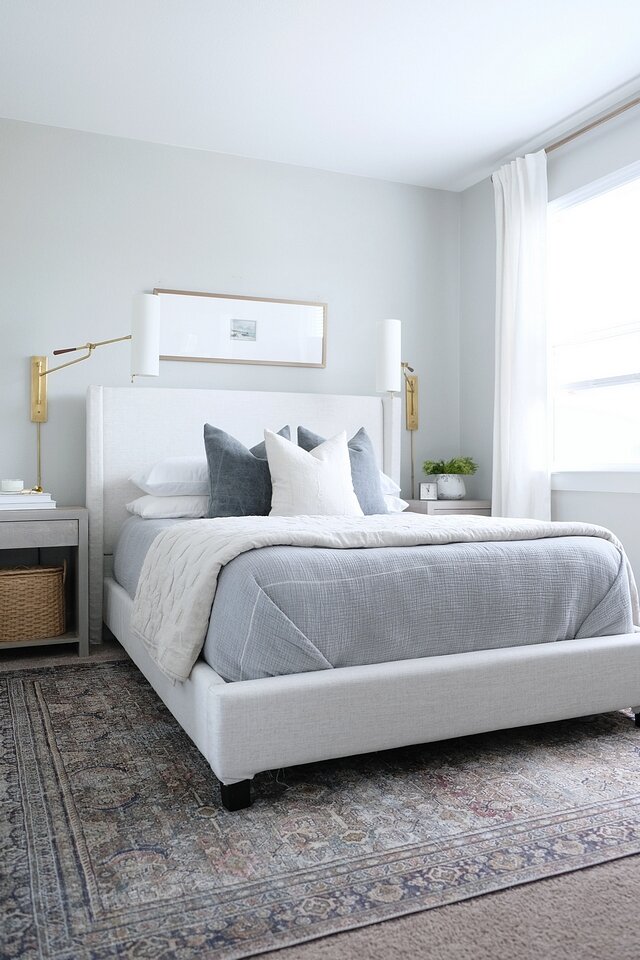
In a bedroom, the rug should extend about 2-3 feet beyond each side of the bed
Why are some rugs so much more expensive than others?
It depends on two factors, what the rug is made out of and how it is made. Machine made rugs made out of synthetic materials will cost a lot less than handmade, natural fiber rugs.
Materials
Wool - soft wool fibers spring back when compressed, making these rugs ultra-durable and comfortable. They’re even stain, dust, and flame-resistant, but they don’t hold up against humidity and can be more expensive
Cotton - an inexpensive alternative to wool, these often flat woven rugs are fairly durable yet soft and can even be put in the washing machine if small enough
Silk - more expensive, silk rugs are luxuriously soft and can be beautifully intricate. They must be cleaned professionally, however, and can wear down easily, so we recommend placing them in areas that are not high-traffic
Jute/Sisal - textured natural fiber rugs are firm and affordable. Sisal can be coarse, but is more durable and easier to wash than the softer jute. Both materials are usually dyed with earth tones and require careful cleaning
Bamboo/Seagrass - all-natural and eco-friendly, these rugs are highly durable and water- and stain-resistant. Great for the outdoors. Their texture is firm and doesn’t dye well, so color options are limited
Cowhide/Leather - these unique, stylish rugs can be expensive and don’t hold up well against water or spills, but they are highly durable to foot traffic and easy to maintain.
Polypropylene and Polyester - vibrant, soft, and affordable, polypropylene (or olefin) rugs are made of synthetic material. They are stain-resistant, easy to clean, and can withstand indoor and outdoor weathering. Because of their chemical makeup, however, they are highly flammable, so keep them away from intense heat such as ovens and fireplaces
Nylon - one of the most common rug materials because of its versatility and affordability. It is similar to polyester except it’s less durable and often cannot be machine washed
Viscose - the man-made version of silk, viscose rugs are beautiful and affordable but extremely fragile and prone to shedding, especially when they come in contact with water
Make
Power Loomed -bBecause they’re machine-made, power loom rugs offer intricacy at a much lower price than handmade options
Tufted - these handmade, detailed pile rugs are soft, textured, and quite durable at low pile heights.
Hand Knotted - meticulously made by professional weavers, these rugs are some of the most durable, intricate, and expensive available
Looped/Hooked - the threads of these rugs end in loops rather than tufts, so they tend to be firmer and denser than hand-tufted rugs
Flat Weave - great for layering, these tightly woven, thin, flexible, and often reversible rugs are extremely light, durable, and easy to clean
What pile do I need?
It depends on where the rug is going and the function of the rug. Both low pile and high pile rugs have their benefits

Low Pile/Flat Weave
1/4" or shorter.
Great for high traffic areas such as entryways, mudrooms, kitchens, and under dining tables (where food may fall), and outdoors
Easy to clean and helps to create a smooth surface
Won't provide the same comfort and warm feeling as something more plush.

High Pile
Taller than 1/4”
Great for cozier places or places where you spend more time on the floor or with bare feet (living rooms, bedrooms, play areas)
Can add texture to a room
Higher pile rugs work better when layering over carpet than low pile rugs
Not as easy to clean as dirt can get trapped in the longer fibers, not ideal for very high traffic areas.
Do I Need a Rug Pad?

Yes! There are several benefits to using a pad under your rug. Not only does it keep it in place, it can make it more comfortable with extra padding, save your floors, and extend the life of your rug.
Can I Layer a Rug Over Carpet?
Yes, as long as the carpet pile isn't too high. Areas this works best in are bedrooms, basements, and play areas.
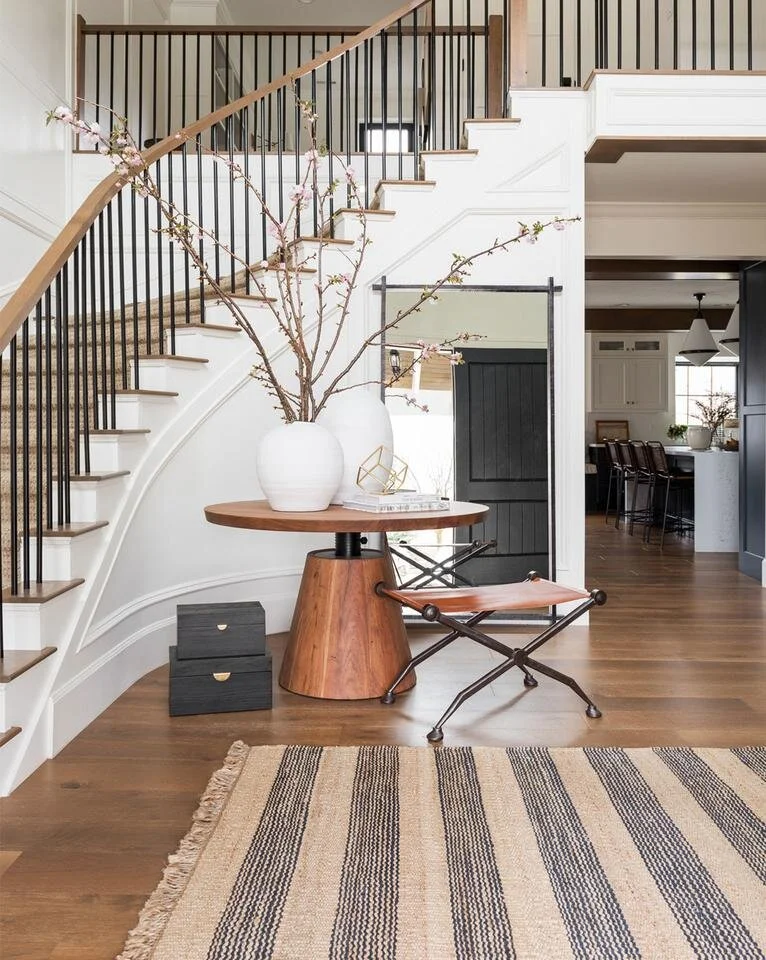
Newbury Olive Rug image via Dani Ferretti
How Do I Layer Rugs?
The best way to do this is to layer a patterned, lower pile rug over top of a solid, natural fiber rug