
This past fall my family and I visited Disney World. We had a wonderful time. Now, I didn’t have high culinary expectations when visiting the theme parks. I know some will disagree - sorry Disney enthusiasts! Based off a lot of the research I did before we arrived, I found that most places to eat inside the parks were more about the experience and not so much the food. Most of the time we were there, we just snacked during the day (lots of popcorn and Mickey bars!). Then we would go back to our hotel for dinner, which had a lot of great restaurants to choose from.
However, for lunch in Hollywood Studios, I ordered a buffalo chicken grilled cheese that came with a farro salad from ABC Commissary. The sandwich was pretty tasty but I was very impressed with the salad. I found myself still thinking about it when we got home so I just had to recreate it!
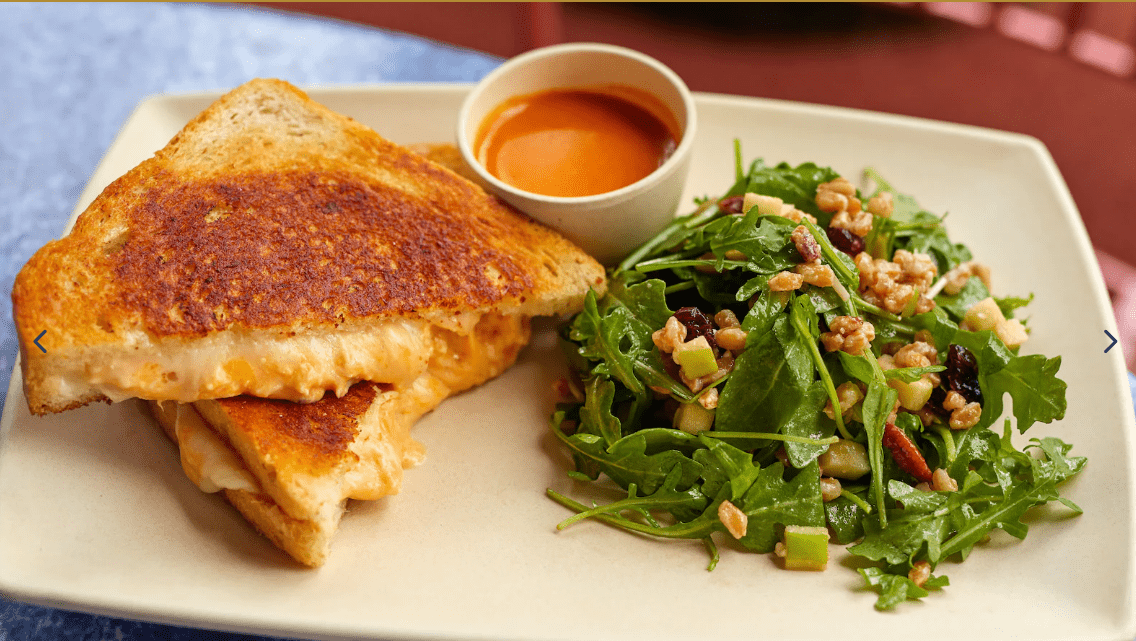
Photo: https://disneyworld.disney.go.com
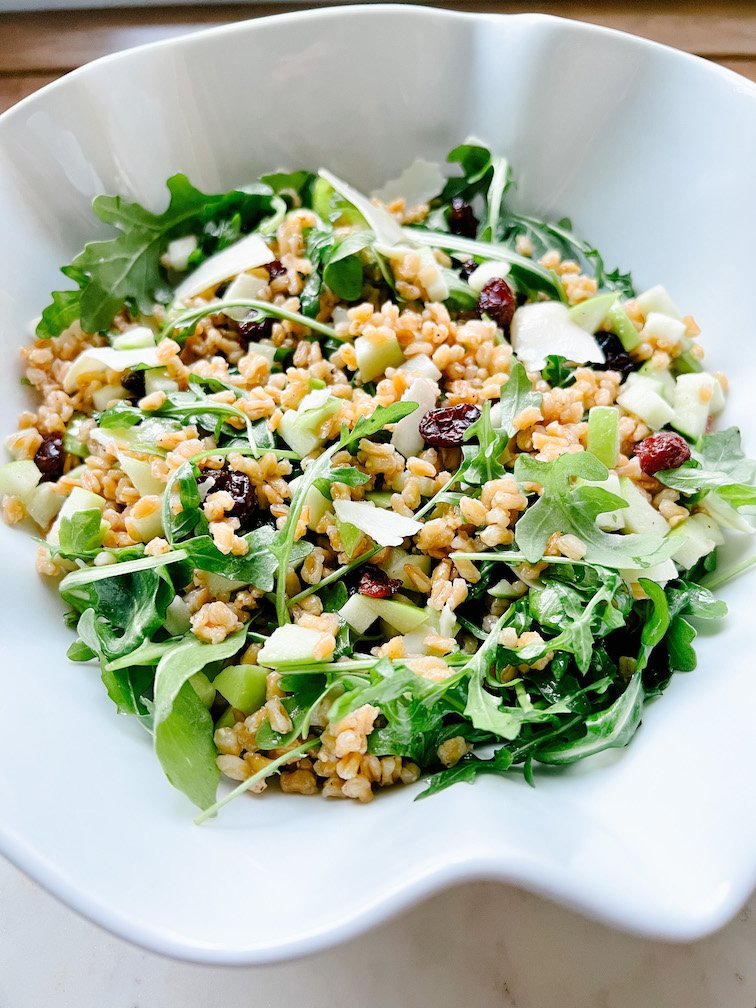
The key to this salad is cooking the farro in apple cider, rather than just water. I love the chewy texture and nuttiness of the farro, but the apple cider gives it tons of added flavor. it is delicious before you add all of the other ingredients.
Ingredients:
1 cup of farro, cooked and drained according to package instructions but substituting apple cider for water
2 tablespoons fresh lemon juice
1 teaspoon dijon mustard
1 teaspoon honey or maple syrup
1/4 cup extra virgin olive oil
1 medium green apple, cored diced
2 cups arugula
1/2 cup dried cranberries
1/2 cup shaved Parmesan cheese
Kosher salt and fresh ground black pepper
Directions
Cook the farro according the package directions, making sure to add one teaspoon of salt (if not directed) and substitute apple cider for the water.
While the farro is cooking, make the dressing. In a large salad bowl, whisk together the lemon juice, mustard, and honey or maple syrup until blended. Gradually add the oil and whisk until combined. Season to taste with salt and fresh ground black pepper.
Add the cooked, cooled, and drained farro, diced apples, arugula, cranberries, and cheese. Toss and serve at room temperature or it can be refrigerated and served cold.